
Fresh off my educator training with WSET, I thought it would be prudent to demonstrate the basic differences between writing a classic WSET tasting note at every level of the Systematic Approach to Tasting (also known as the SAT in WSET’s acronym-loving lingo).
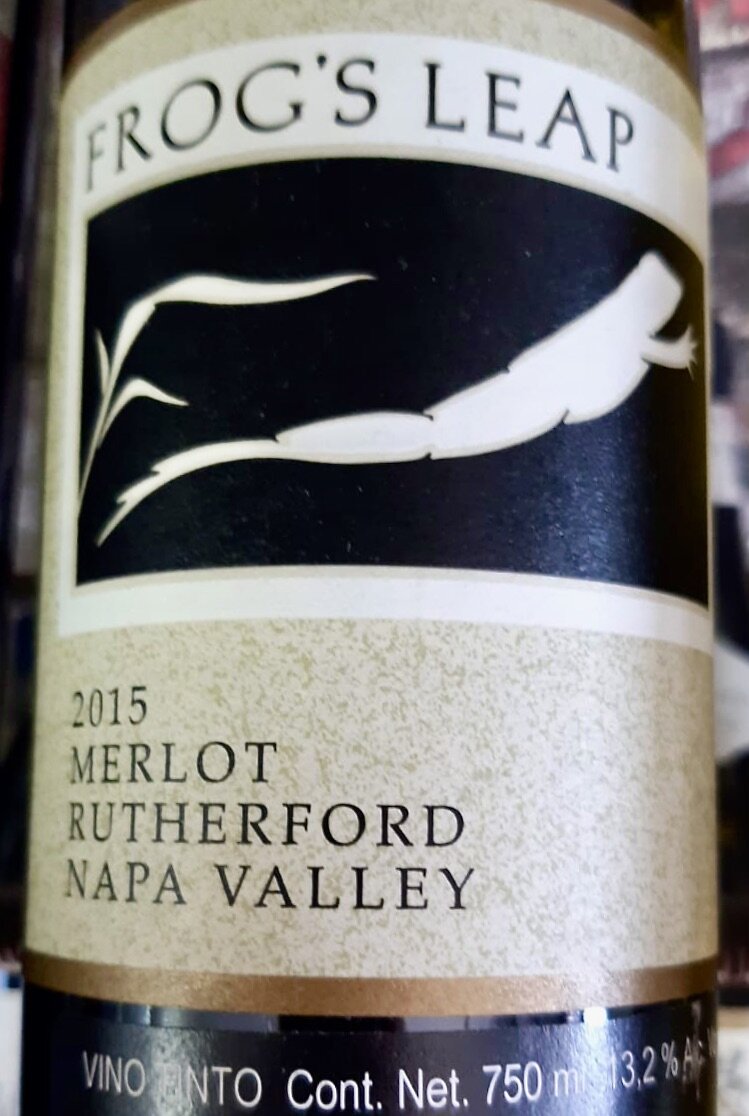
I was assigned the task of purchasing a bottle of premium merlot from California for my tasting exam, and after viewing what was available on the current market in Vallarta, I decided to go with the 2015 Frog’s Leap Rutherford Merlot from Napa Valley.
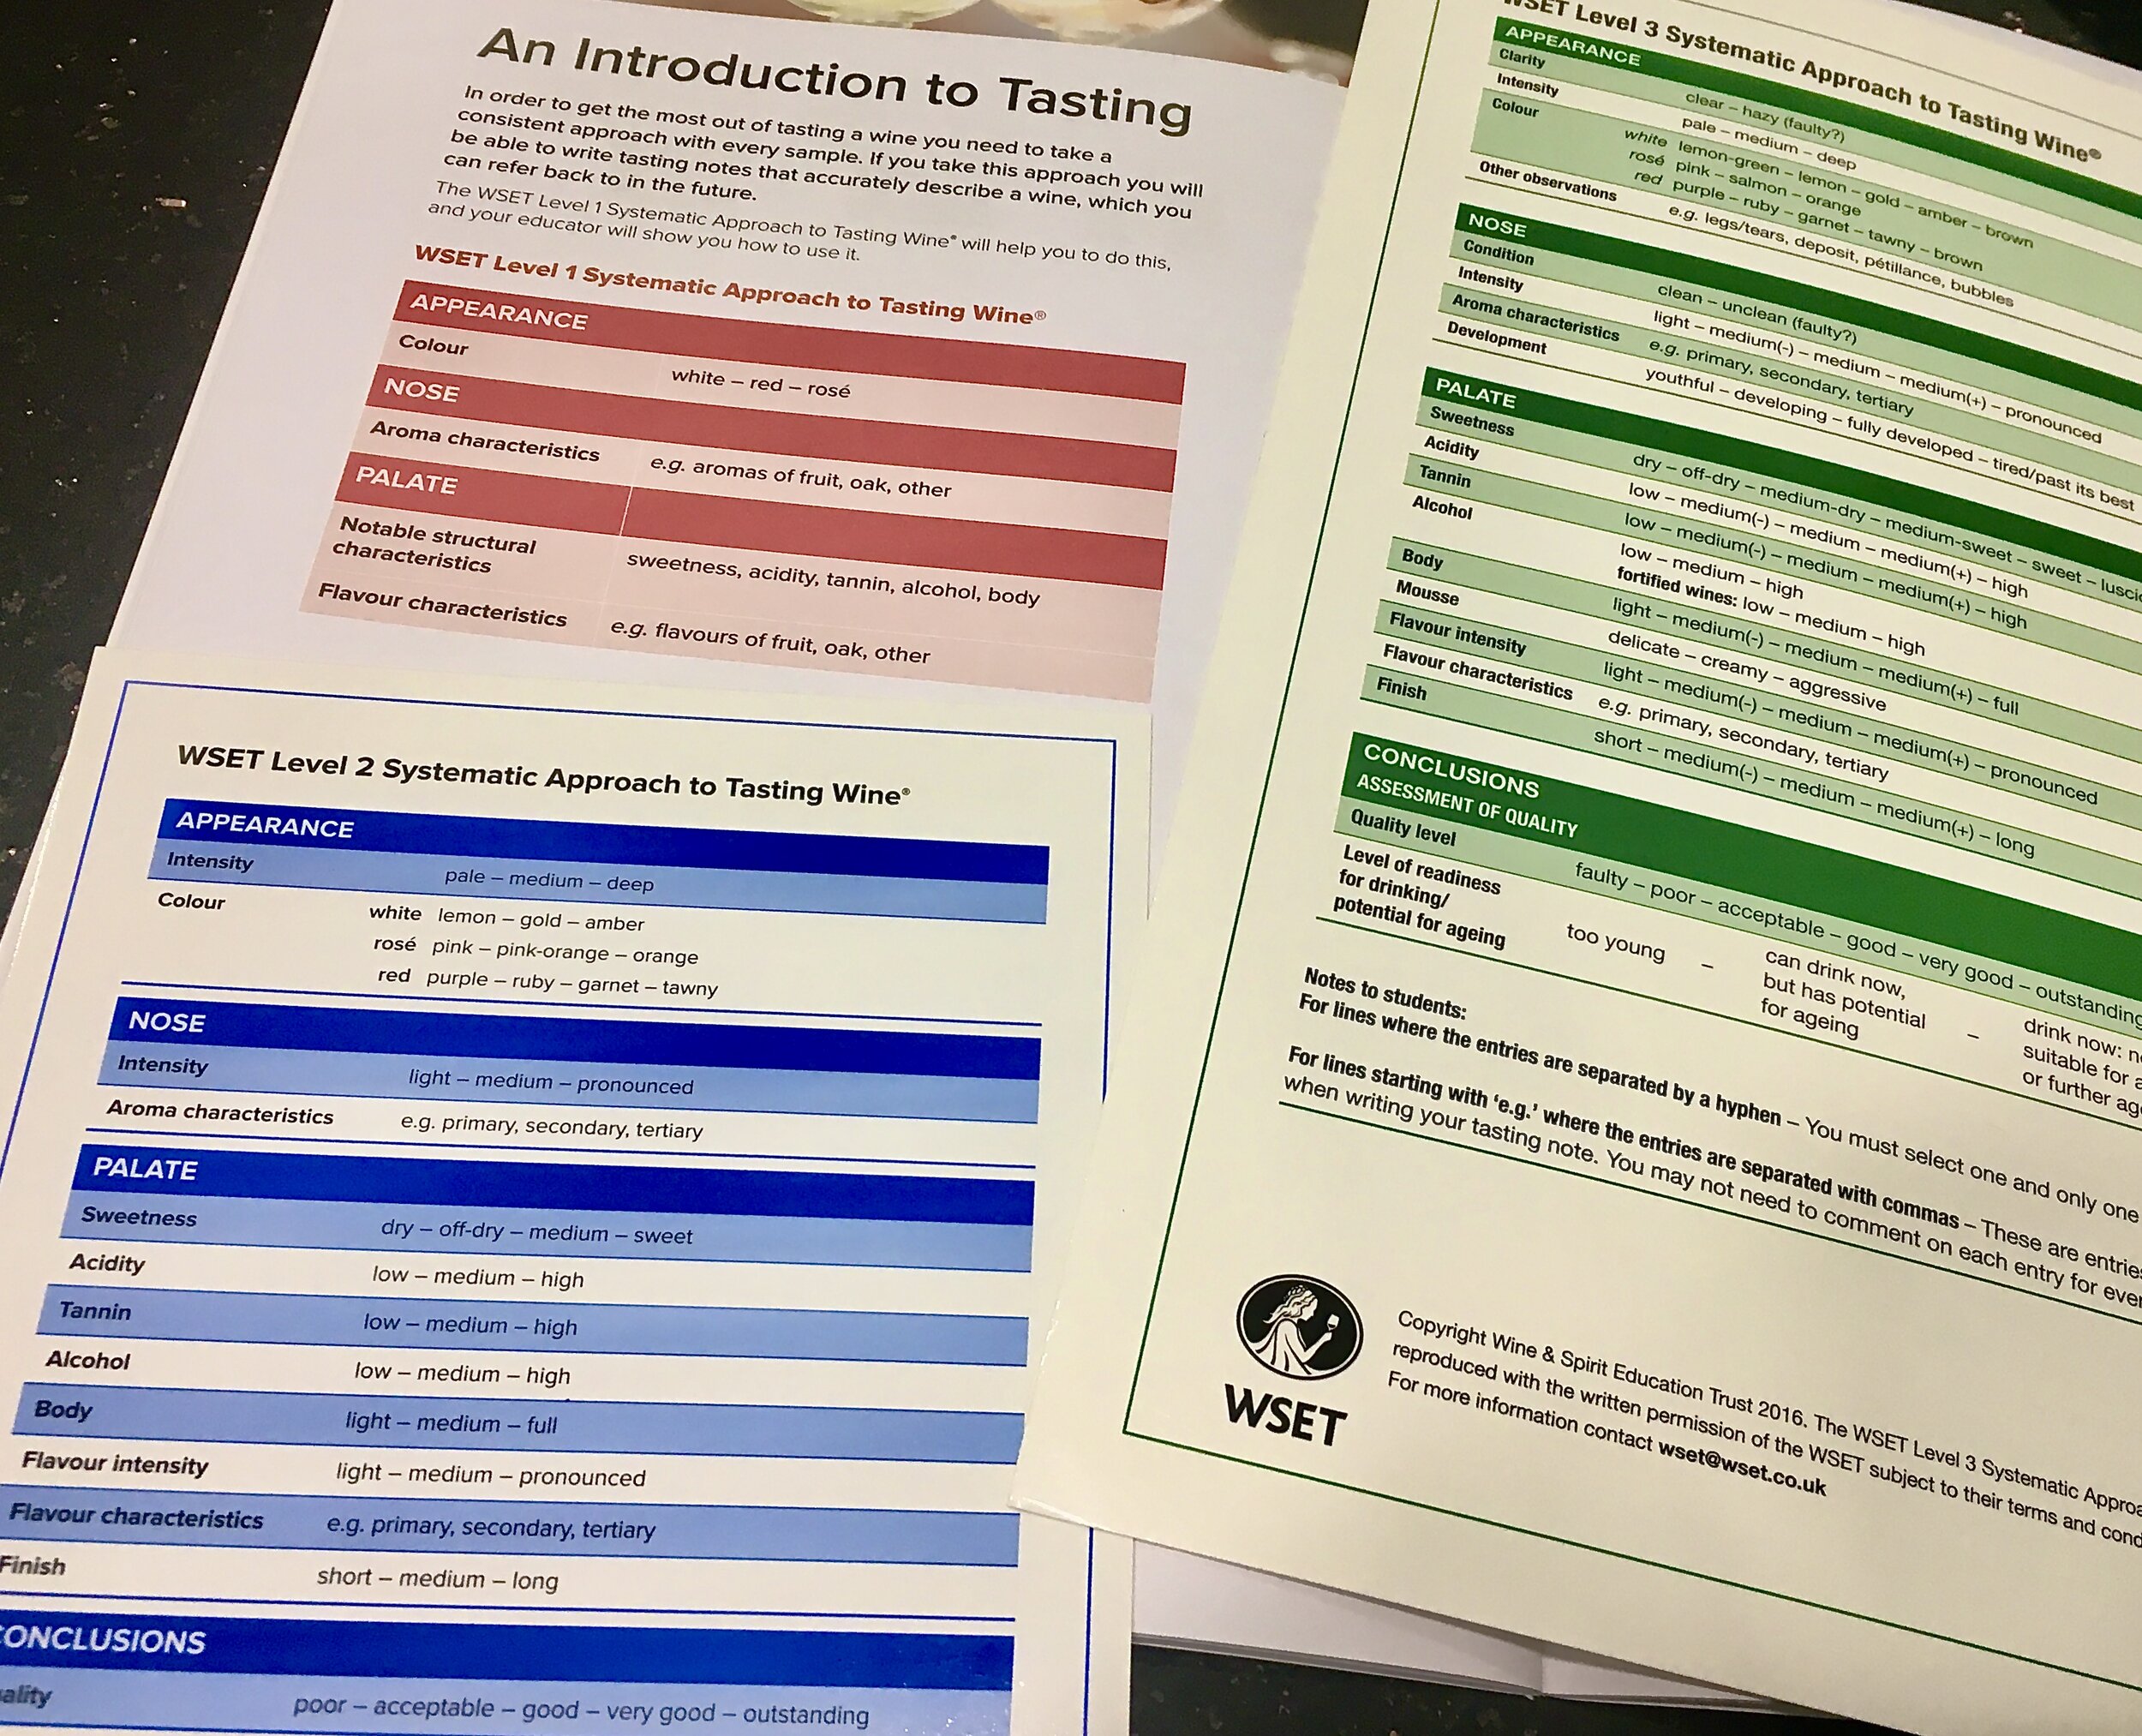
As you can see in the above photo, the SATs get significantly more complex as you go up the tasting ladder. There’s a Level 4 to this collection as well, but my copy is 10 years old so I won’t post it here as these guides get revised every few years and mine is now obsolete.
So let’s start with a Level 1 tasting note. It would look something like this:
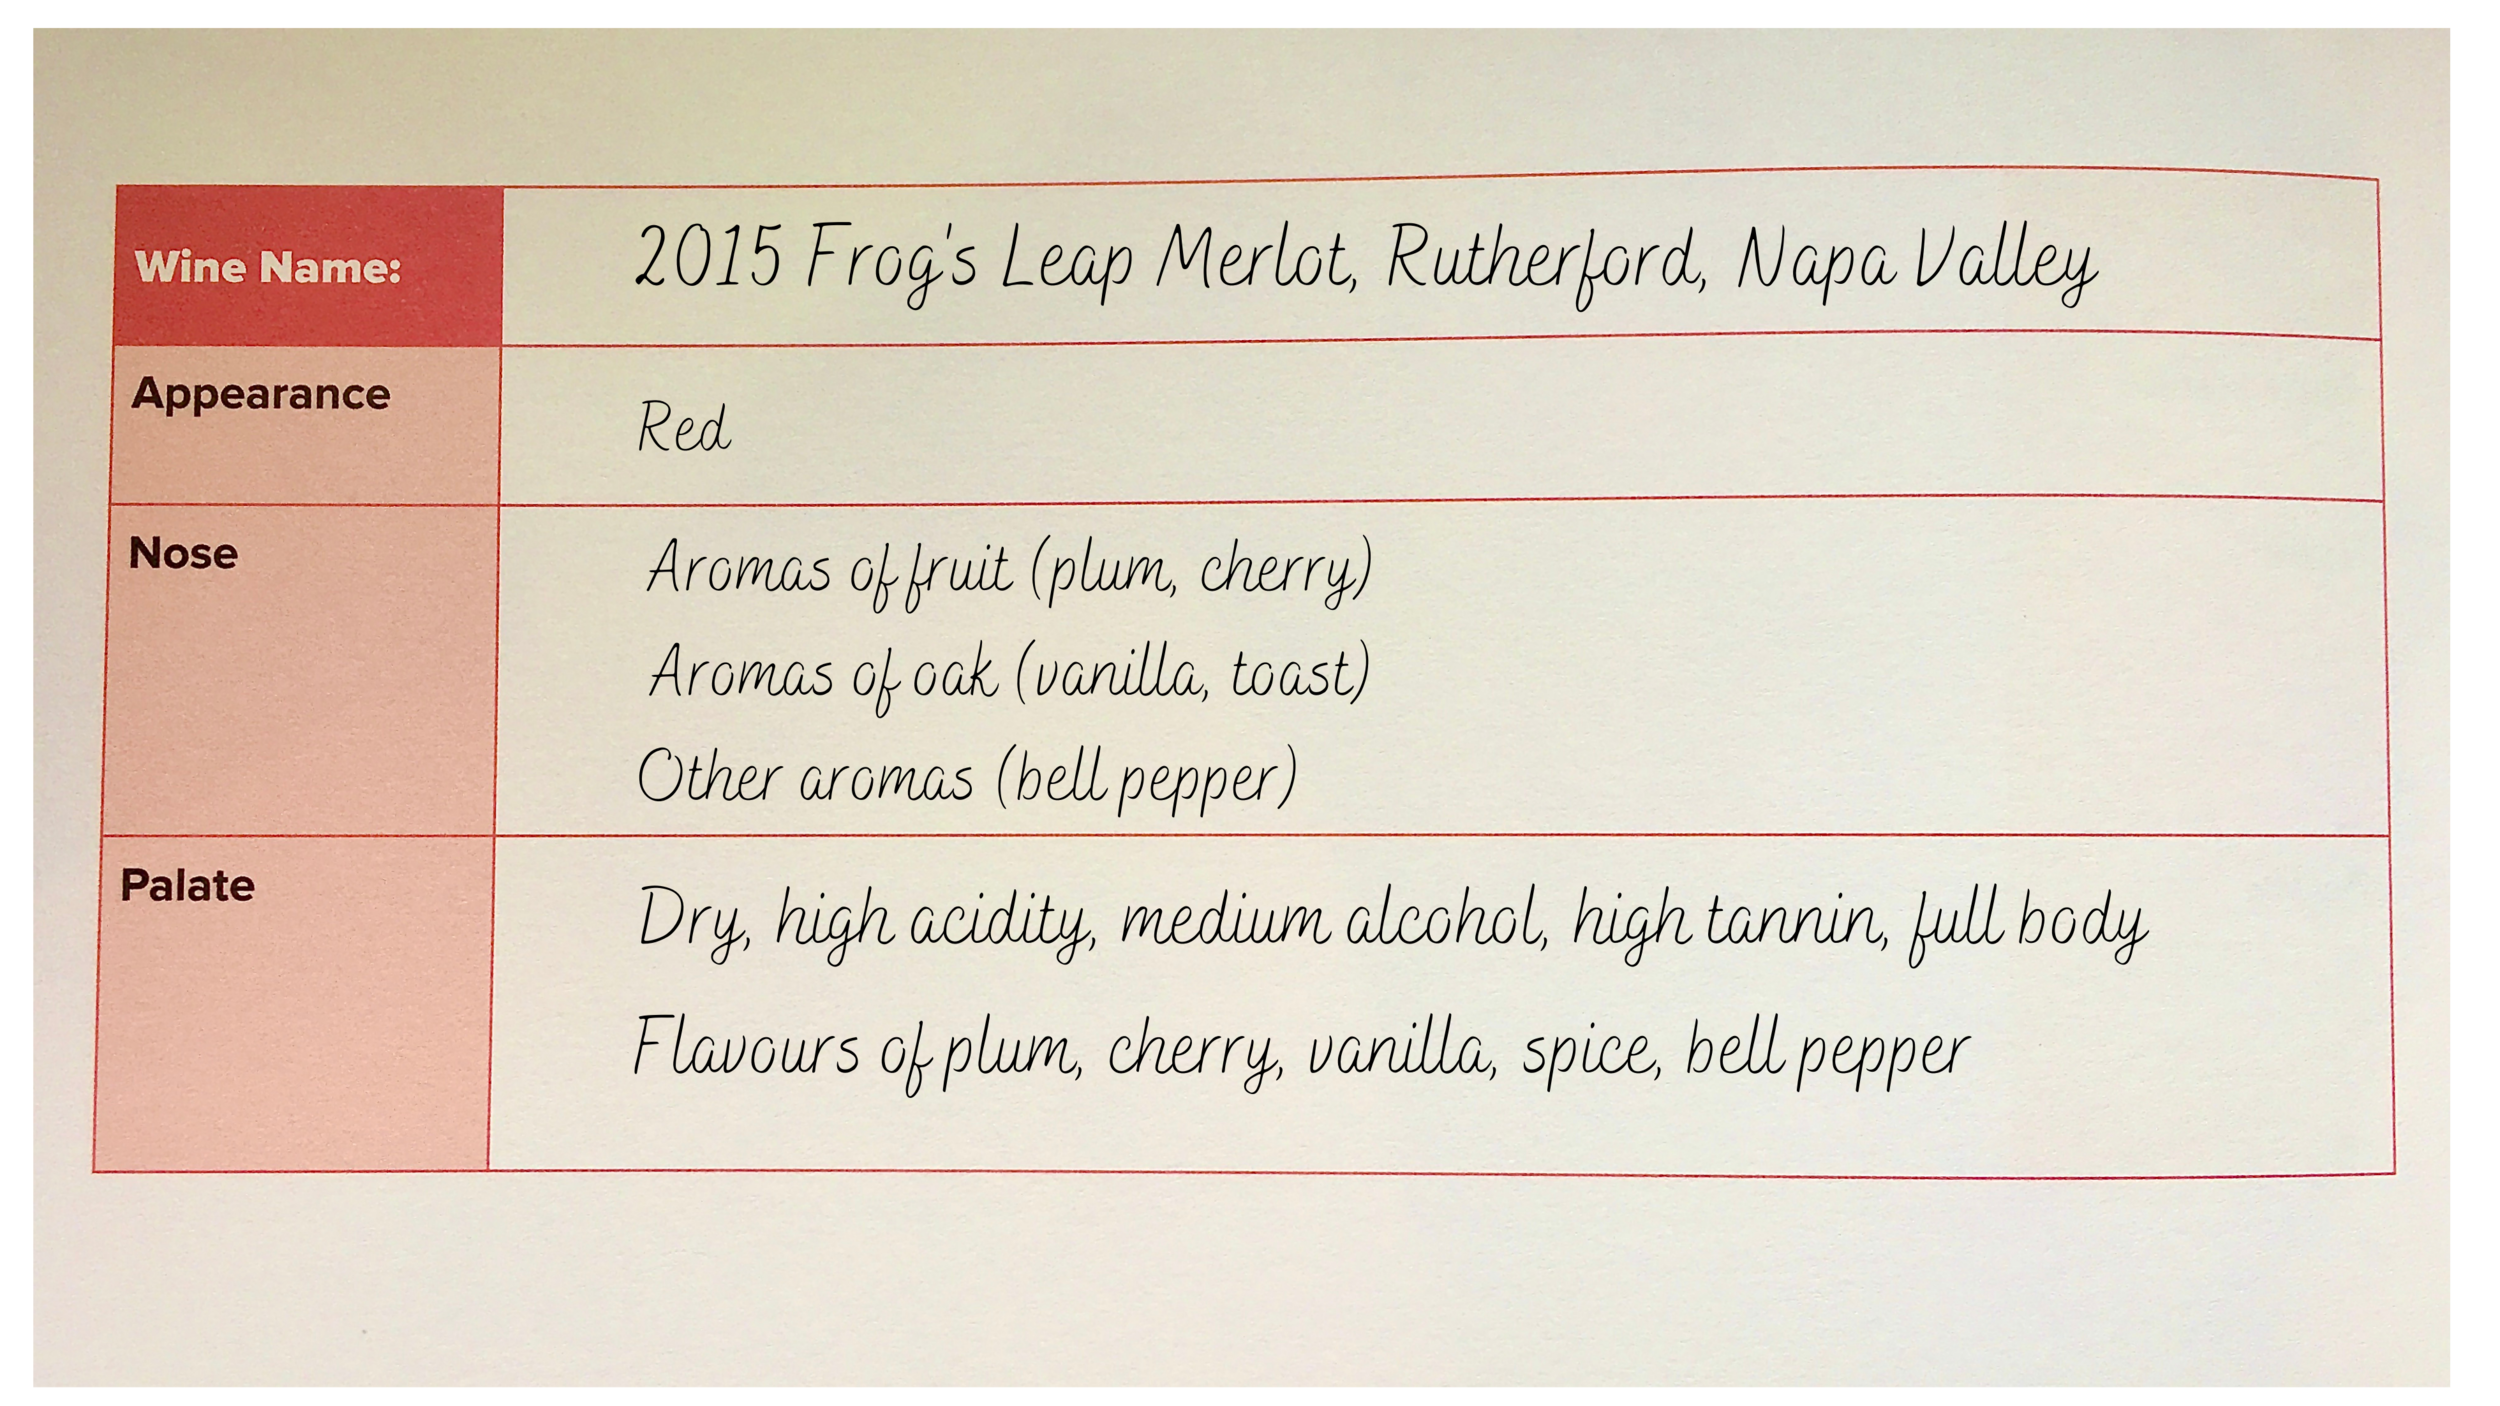
It’s a very simple tasting note, systematically breaking down the essential components of the wine to their individual parts and avoiding all the flowery kind of writing you usually see on the back of wine labels or in wine critics’ reviews. Straightforward and very easy to understand.
When you get to the Level 2 class, you are expected to build on this basic framework. Think of it as Level 1 being the basic structure of a house, then Level 2 being the fixtures & appliances you add in. Or use whatever analogy works for your particular line of work/interest and you get the idea.
And so here’s what a Level 2 tasting note looks like:

This is a fairly big jump from Level 1. Now we are defining the colour and intensity of the wine’s appearance, as well as the level of intensity on the nose and palate. We are building on our infrastructure from Level 1 with respect to the aroma and flavour profiles, further separating the primary (climate & grape variety), secondary (winemaking), and tertiary (maturation) components into fruit clusters (ie - red fruits, black fruits, herbs, oak, etc) and then identifying which specific characteristic it is that we taste or smell.
In addition, we pay attention to the length of the wine and make an assessment to the quality level of the wine, along with serving temperatures and a suggested food pairing based on the food and wine interaction rules that we learned about in Level 1.
So our “house” has all the structural components as well as all the fixtures and appliances in place. But that doesn’t make a house into a home, does it?We need to tie it all together, and find clues within our tasting note that brings us to the conclusion that this is a typical example of a premium merlot from California. How do we do that?
This is where the Level 3 tasting note comes in:

On the surface, the nose and palate sections don’t look much different than a Level 2 note, at least for a still (non-sparkling, non-fortified) wine. In Level 3, we further break the medium-level qualification down into three parts (medium - or + are now included) and we also identify where the wine is in its development and readiness for drinking.
But if we look deeper, we realize that we will also need to assess all the components that we have identified in order to understand ‘why’ and ‘how’ the wine tastes the way it does. This is the key to passing the Level 3 exam.
For example, this California merlot has high acidity and high tannin, yet we learned in Level 1 that merlot usually has medium acidity and medium tannin. Why is this one different? If this were a blind tasting, we could infer that perhaps there is another grape variety blended in. And in fact that is the case here - 19% of the wine is cabernet sauvignon, a grape that demonstrates high acidity and high tannin in the glass. We might also conclude that the grapes were harvested earlier in order to preserve acid levels.
Another clue that there is a second grape variety blended in is that in addition to the merlot hallmark fruit of plum, the wine also demonstrates aromas and flavours of mint, bell pepper, and blackcurrant, all classic markers of cabernet sauvignon that we learned about in Level 1.
The wine shows dried fruit on the nose and the palate, indicating the relative age of the wine (six years old when tasted). But it also shows lots of ripe fresh fruit, an indicator of the region it was grown in - for example, Napa has a much warmer climate than Saint-Émilion in Bordeaux, another famous wine region for merlot-dominant red blends, therefore it often presents riper fruit characteristics.
And then we get to the assessment of quality. If you are going to say that a wine is outstanding, you need to be able to back that up with objective proof beyond your personal enjoyment of the wine. Using the balance/complexity/intensity/length formula we first learned about in Level 2, we only need to check back to our tasting notes to realize that this is indeed an outstanding wine.
If we’ve properly followed the SAT, we should be able to reach a logical conclusion about the grape variety(ies), climate/region, harvesting/winemaking techniques, and age of any wine we taste.
And there you have it. Happy tasting!